To reduce the risk of there being any identifiable or coherent theme to my sporadic blogging, today I’m posting a recipe for Christmas Cake. Originally made by my redoubtable Nanna and modified slightly by my equally formidable Mum, I’ve made some UX improvements to the process and the end-product. It’s really really good, and you should try making it (but you’ll have do to it a good few weeks before Christmas, because it needs a time to mature; early November is about right).
It really is by far the best Christmas Cake I’ve tasted and there’s no comparison with the even the best shop-bought ones, which somehow still manage to be simultaneously sawdust-dry and curiously sweaty. I’m sure there will be pop-up shops appearing in fashionable parts of London selling artisanal cakes made with individually sucked raisins and single-origin hubris, but I’m confident this cake will beat them all.
The original recipe, which I comes from an ancient issue of Family Circle magazine, describes this as a Rich Fruitcake, but that could be misleading on two fronts. First, it’s definitely not the kind of rich that might go with ‘chocolate torte’, and which for me is often the prefix for unctuous, sickly-sweet affair often with a crude alcoholic bite. This is more dark and dense than rich, collapsing bitter, sweet, sour and even a bit of umami into a wonderful fruity singularity. Second, it’s also only just cake-like, in some ways having more in common texture-wise with a Christmas Pud than a Victoria Sponge (but without the suetey wobble of the former). If you like your Christmas Cake light and airy, this is not for you: it’s a solid belligerent hulk of a cake, but all the more delicious for that.

It’s really easy to make, requiring no delicacy, finesse or baking technique whatsoever. It doesn’t raise, so it can’t sink. The proportions of ingredients are very flexible, as is the cooking time, so there’s no great precision required. As long as you don’t use Five Spice instead of Mixed Spice, there’s really not much that can go wrong (if you do use Five Spice by mistake, maybe try passing it off as a form of fusion food. Good luck, let me know how you got on).
In it’s original form, the prep for this recipe would have required an impressive degree of dedication to cake making, with what looks like several hours of de-stalking, washing and overnight-drying of fruit, candying of peel and blanching of almonds before you can start shoving things into a bowl. Now you can get all the ingredients pre-prepared from any supermarket, reducing the TL;DR version of the method to little more than ‘mix ingredients then bake in oven for longer than feels right’. There’s a bit more to it than that, but not much. This recipe makes enough to fill a round 9in tin, or a square 8in one.
You will need:
- 5 large eggs (at room temperature)
- 300g salted butter (also at room temperature , yes I do mean salted, this cake can take it)
- 1.5Kg of dried mixed fruit (ratio doesn’t really matter; however it comes will do)
- 1 level teaspoon of mixed spice (don’t be tempted to use more, even if you really like that Christmassy cinnamon smell)
- Two large lemons
- 300g plain flour
- 300g dark Muscovado sugar (this is important, don’t use anything else)
- 100g chopped almonds (not flaked or ground; chopped mixed nuts would be fine too)
- A surprising amount of sherry
- 9in round cake, or 8in square cake tin
In the biggest mixing bowl you can find (bigger is better, you’ll thank me later), cream together the sugar and butter with an electric whisk. Most cake recipes will tell you to do this until the mixture is ‘pale and fluffy’, but for this cake, forget it — the dark muscovado is never going to go pale, and this thing isn’t going to raise so there’s no need to worry about trapping air pockets in the mix. All you really need to do at this stage is make sure you don’t have any clumps of sugar left.

In a separate bowl, whisk up the eggs and add them to the main mix. By all means add the them a little at time if it makes you feel better, or in a steady stream, beating as you go in an attempt to stop the mixture separating. But it won’t make any difference: at some unpredictable point the mixture will curdle and end up looking something squeezed out of the wrong end of a cat. It’ll weep a foul-looking black drool that will form nasty puddles in what is, frankly, an already unattractive-looking mixture. Don’t worry, this is perfectly normal. For most cakes having the batter separate like this would mean the air trapped there during the creaming would have escaped. But we didn’t trap any there in the first place, so no great loss. Press on, it’ll all come together shortly.
Finely grate the zest off both lemons, avoiding any of the white pith, and add that along with the chopped nuts and the mixed spice. Mix it all up.
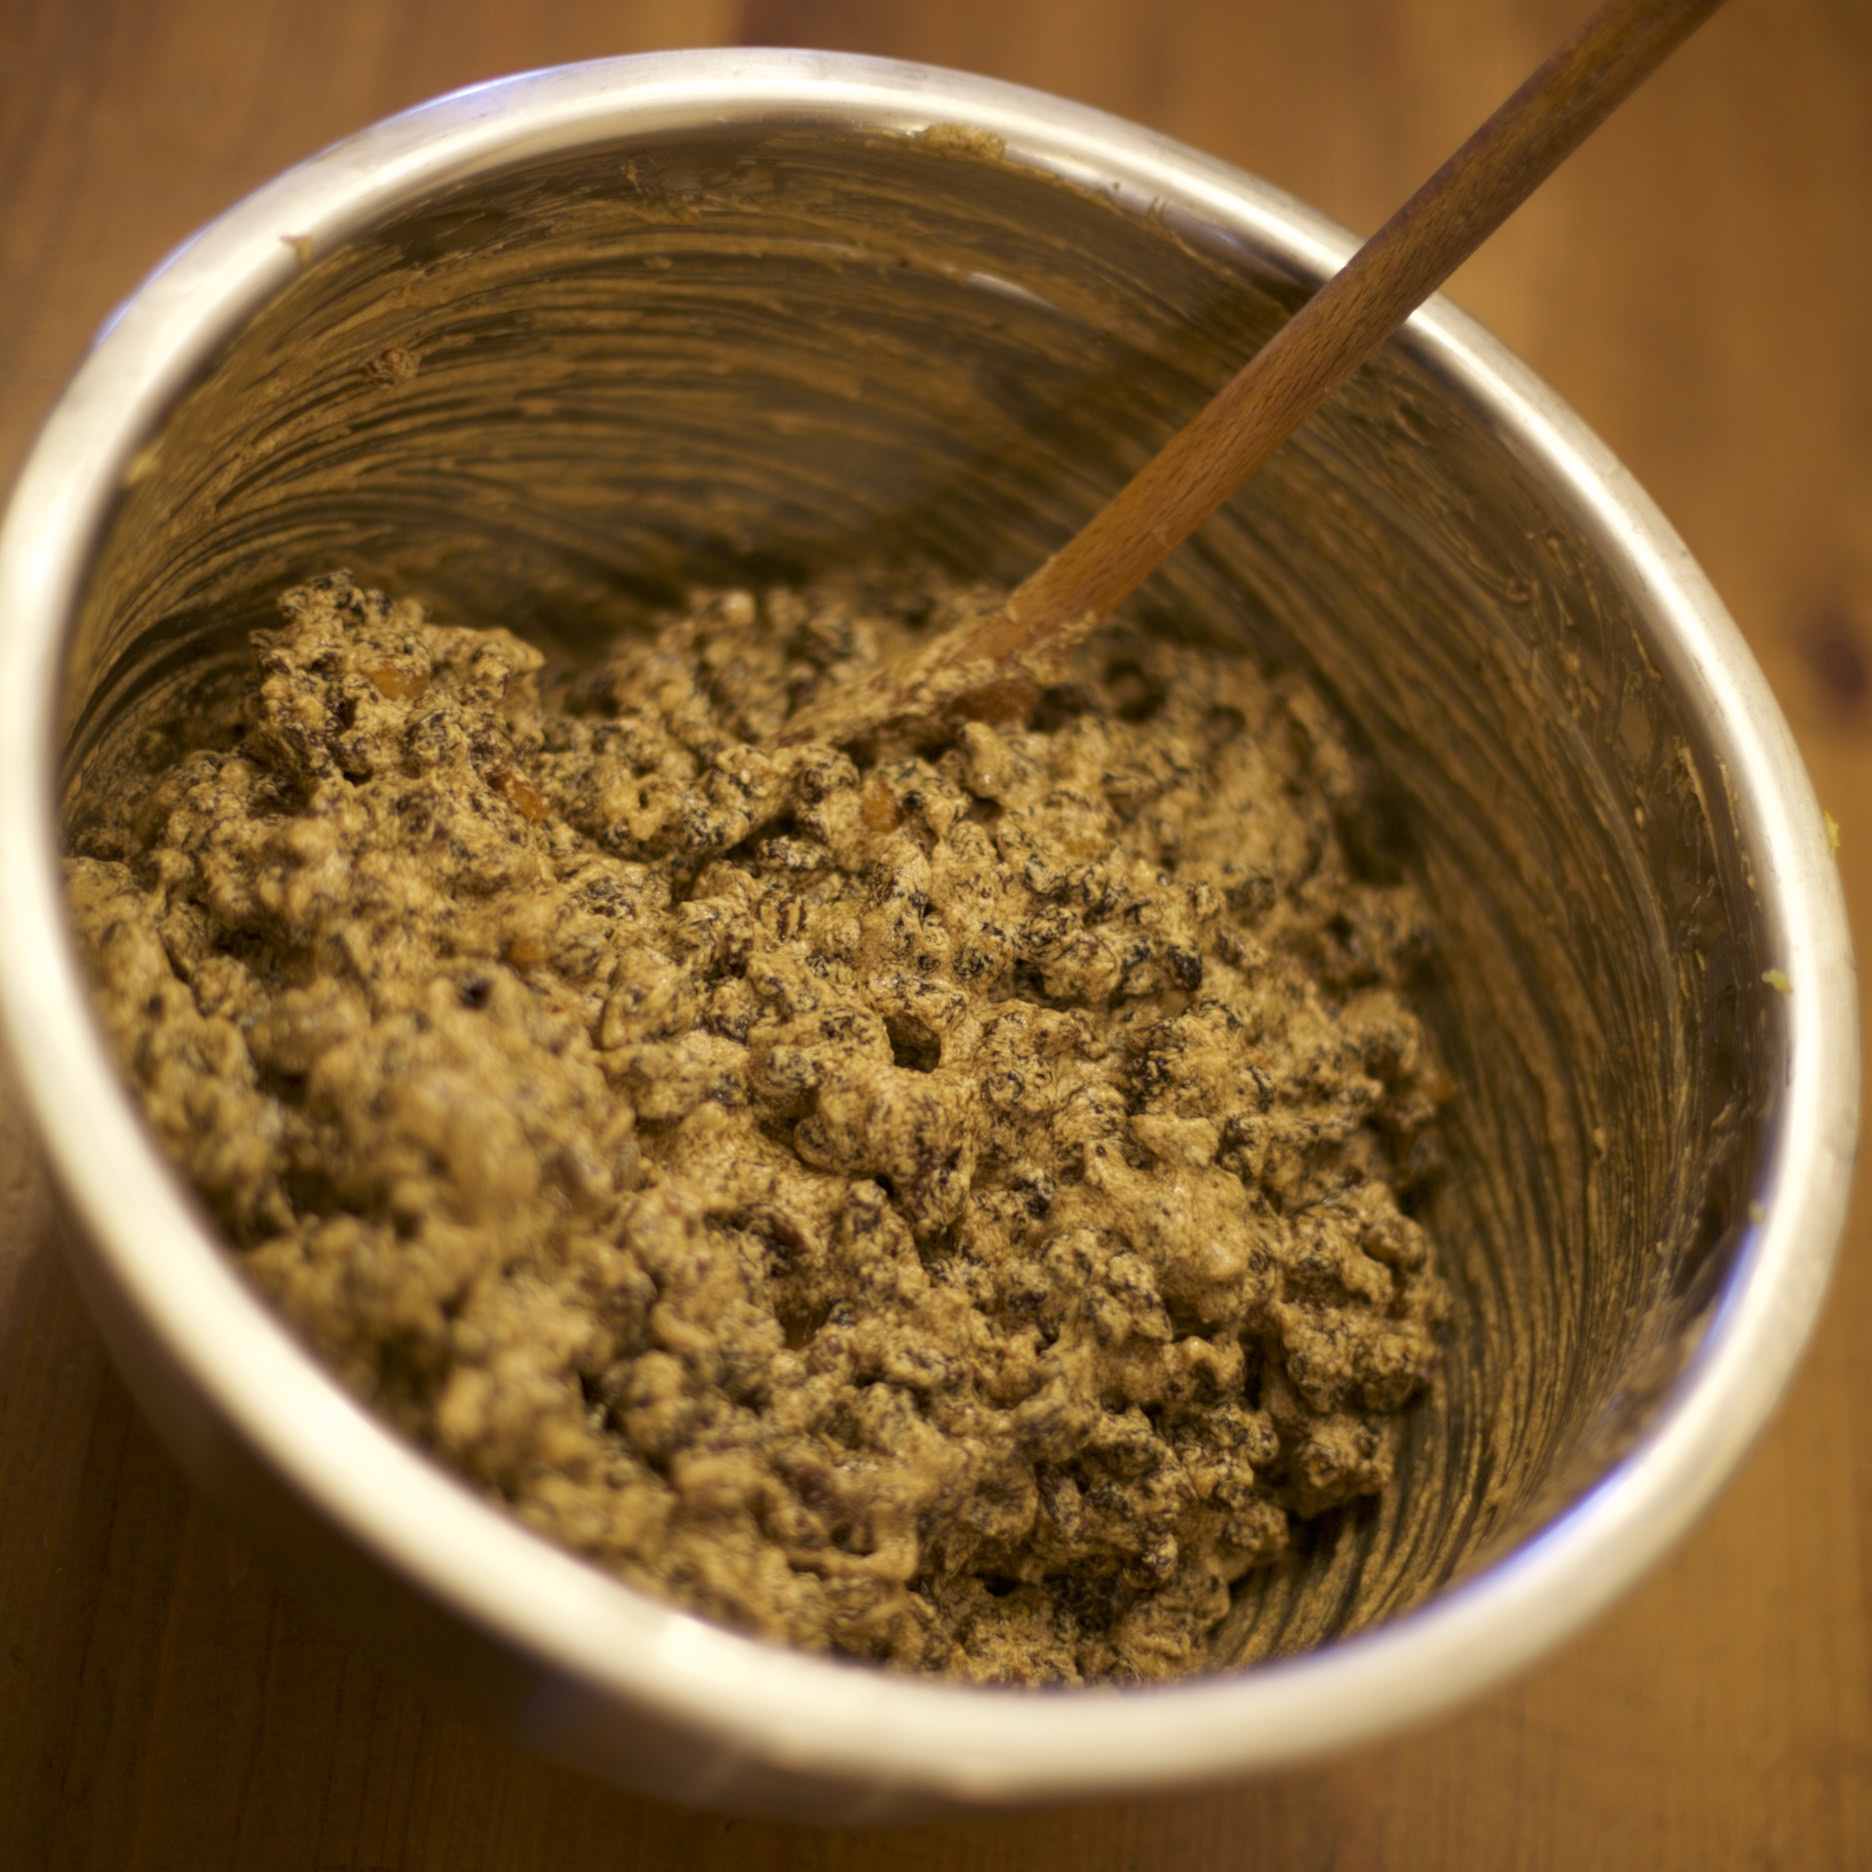
At this point no matter how big and powerful your electric mixer is, you need to swap to using a wooden spoon or risk burning out your motor. Make it a good stout wooden spoon too. If you use a flimsy one it’s going to snap, leaving you pulling splinters either out of your cake mix or the soft palate of your guests. Add in all of the mixed fruit. You could at this point add some chopped glacé cherries too, but they’re horrid, so don’t. Mix thoroughly. It’ll still look gross.
Add the flour and the juice of both lemons. There’s no need to sift the flour from on high, I’m sure the point about not needing to worry about lightness and fluffiness has probably been made by now. And get as much juice out of the lemons as you can; at this stage the mixture is heading towards the consistency of industrial concrete, so the more juice you can eke out of the lemons to loosen it the better. Mix again. It’ll be tough going; you’ll be glad you’re using a sturdy wooden spoon and a huge bowl. Keep mixing until you’re sure there are no dry pockets of flour left and the mixture doesn’t look quite as horrible as it did before.
Double-line the base and sides of a sturdy cake tin with buttered greaseproof paper or baking parchment. The paper sides should stick up above the metal of the tin by about an inch. Transfer the cake mix to the tin, and press it into the sides, flattening the top as much as you can with the back of a spatula (the mixture is heavy enough that it doesn’t really flow or self-level very much as it heats up in the oven, so any lumps or gaps you leave when you put it in are likely to be there when it’s done). Wrap the outside of the cake tin with another double-layer of paper, and secure that in place with a bit of string.
For the first hour, bake at 120C, and at 110C for a second hour. Then turn down to 100C and bake for as long as it needs, which could easily be another 6 or 7 hours or so depending on the exact tin and oven combo you have.
At these low temperatures, it’s not likely to burn in any hurry, so you don’t have to watch it like a hawk. As it’s coming towards its 6th hour at 100 degrees, you can test to see if it’s done — a metal skewer should come out quite clean. If you’re unsure, bake for longer. If for some reason you’re finding that the centre is still a bit mushy but the top of the cake is heading towards burning, cover the top with foil and reduce the heat even further and keep going until the middle is cooked. You don’t need to worry too much about the cake drying out, because you’re shortly going to fix that with copious amount of alcohol.
When it’s done, let it cool. Don’t be tempted to take it out of its tin until it has cooled completely. Although in its final form this cake is the one you’d choose to shelter under in the case of asteroid strike, while it’s still warm it’s surprisingly fragile and any attempt to do anything to move it outside the tin is likely to result in disaster.
When it’s completely cool, take it out of the tin and discard the paper linings. Pierce the top and many times to different depths with a metal skewer, and pour over some sherry. Doesn’t matter exactly how much. If it’s dripping over the edges you’ve overdone it; if there are dry patches, you need some more. Wait ten minutes or so for the alcohol to sink in, then wrap the cake up in tinfoil and put it safely away.
In a week’s time, open the foil up, turn the cake over, pierce, and feed it some more sherry. Wrap it back up. Repeat 4 or 5 more times at weekly intervals.
At this point you’re probably thinking that sherry is really not very nice, and that it would be far better to use something like rum or brandy or whisky. You’d be wrong. Really very wrong indeed. Something about sherry works beautifully with this cake; it makes its presence felt, but it’s not overpowering, and it blends into the other flavours seamlessly. You can tell there’s alcohol in there — lots of alcohol in fact — but it doesn’t kick you in the face. If you’re really desperate to use something else, do it next year when you make the cake and you’ve got something to compare the result with. That way you’ll know that it’s your own fault when it doesn’t taste as good.
As the cake matures over the weeks leading up to Christmas, it will darken by several shades. If you think you’ve gone a bit heavy on the sherry and it’s starting to look a bit sodden, it’s safe to leave it to air for a while to dry out. Once it’s had a couple of meals of sherry, it’s pretty indestructable and will last for months. Don’t feed it for a week to ten days before you’re going to ice it.
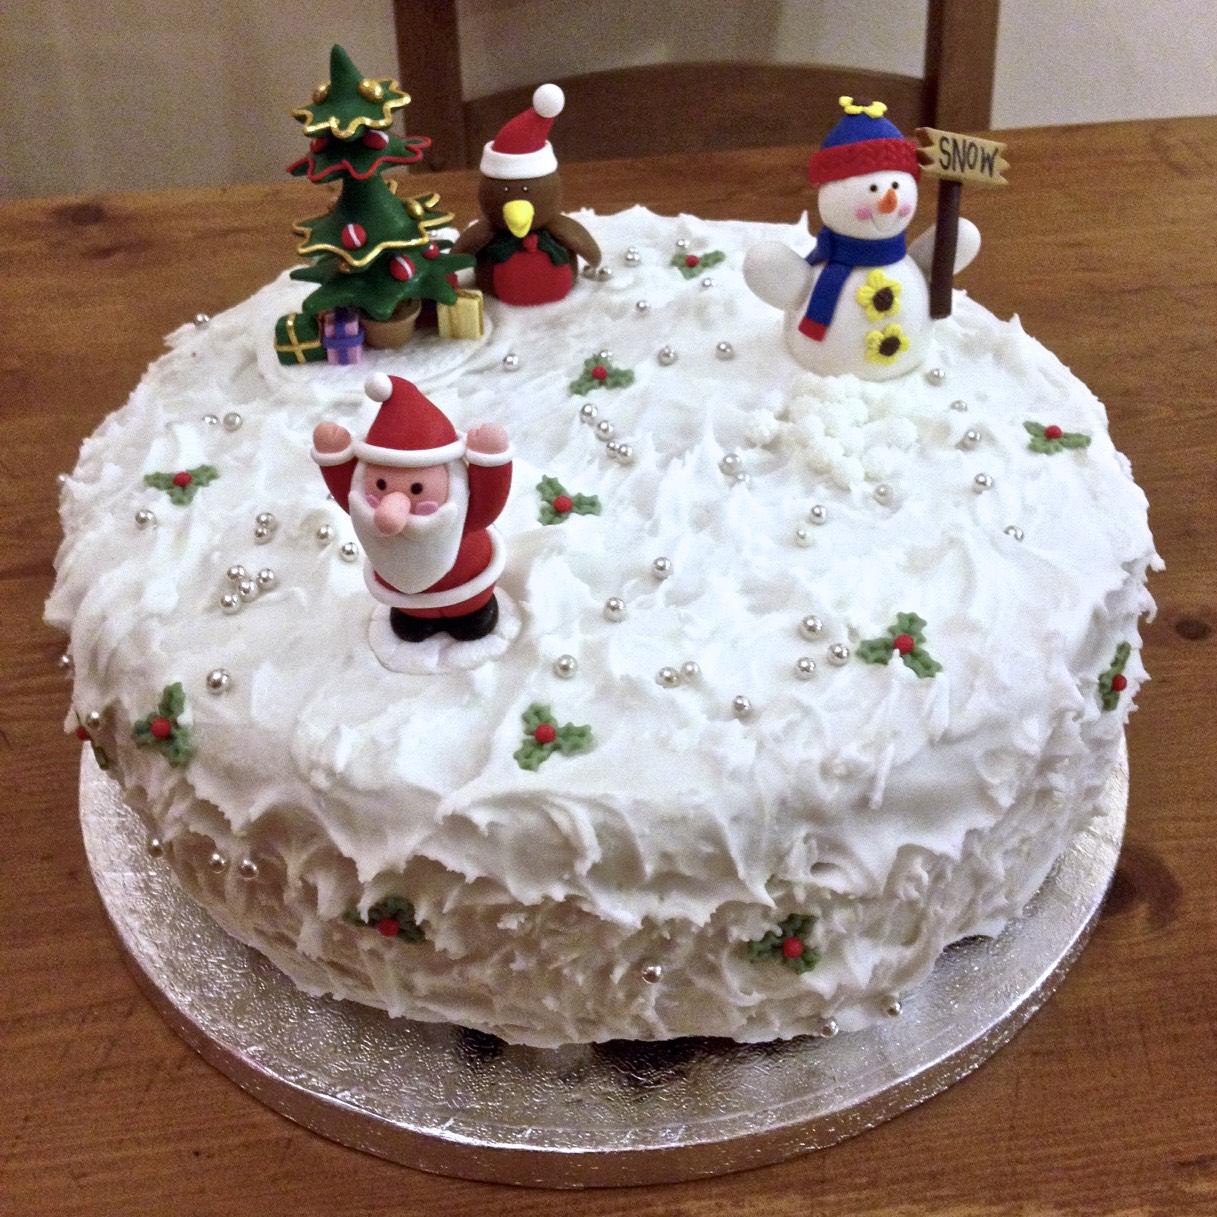 A week or two before Christmas, decorate the cake. You could, I suppose, just put some candied fruit and nuts on top, but I think this one really works well with marzipan and icing which nicely balances the dark sour and bitter aspects of the cake. Warm a couple of tablespoon’s worth of orange shredless marmalade for a few seconds in a microwave, and brush it over the top and sides of the cake. This will help the marzipan stick. Keep the marzipan thin; two or three millimetres is plenty, and much more than that becomes too sickly. It’s quite important that you don’t leave any gaps in the marzipan layer, otherwise the cake will leech through and discolour any icing you put on afterwards. Then ice and adorn however you like. I cover it all over in very stiff royal icing, and slap that with a spatula to create peaks that don’t look at all like snow really. Then I add some naff plastic figures and silver balls that don’t look like anything you’d find on snow either, and the job is done.
If you make it, please do let me know what you think.
154,730 total views, 39 views today
Will let you know how it goes
I am so excited to find this recipe – my mother used to make the best Christmas cake and it came from an edition of family circle from the 60s or early 70s. Looking at this recipe, it looks like this is the very recipe! We always used to make it the weekend after my birthday (October 31st!) and feed it alcohol weekly for a month. I am really looking forward to reviving this tradition.
Love this recipe! I did add cherries and I used brandy and loved it
(as did everyone else who tried it), and which is why I’m currently making another 3
I started using this recipe about 3 years ago and haven’t looked back! The cake is amazing! Coupled with a witty recipe, there’s nothing better in my eyes (apart from life I suppose)!
Love this recipe. Thank you for sharing this recipe.